
Levo guides · Disk space
How to check storage on a Mac
Open System Settings › General › Storage. It shows how much of your disk is used, split into categories, and how much is free. Finder, Disk Utility and Terminal show the same disk from other angles, and their numbers rarely match exactly.
| Where | What it shows | Best for |
|---|---|---|
| System Settings › General › Storage | Used space by category, and what macOS can free | A quick look |
| Finder › Get Info on the disk | Capacity, available and used, with purgeable space counted as available | The number Finder uses for copying and saving |
| Disk Utility | Capacity, used, and the APFS container and volumes | Seeing how the disk is divided |
df in Terminal | Raw free blocks, without purgeable space | The strictest number |
du in Terminal | The size of one folder | Finding what is big |
Storage settings
- Choose Apple menu › System Settings.
- Click General, then Storage.
- Wait for the bar to finish calculating. The categories load one by one, so the first picture is incomplete.
- Click the ⓘ next to a category to see what is in it. System Data has no such button, because macOS doesn’t break it down.
The bar is useful for proportions: how much is Applications, Documents, Photos and System Data. It is not a way to find which folder is big. For that, see How to find large files on a Mac.
Finder
- Open Finder, then Go › Computer (⇧⌘C).
- Select your disk, usually Macintosh HD, and press ⌘I.
- Read Capacity, Available and Used.
Available includes purgeable space: caches and files macOS will delete on its own if something needs room. That is why Finder can say you have 40 GB more than df does.
Disk Utility
- Open Disk Utility from Applications › Utilities.
- Choose View › Show All Devices, then select the volume called Macintosh HD - Data.
- Read the used and available figures in the panel on the right.
On an APFS disk, volumes share one container, so the free space is the same for all of them. The system volume, the Data volume, Preboot, Recovery and VM are all drawing on it. That is why Macintosh HD alone can look tiny and the Data volume large.
Terminal
For the strictest answer:
df -h /System/Volumes/DataFor the size of your biggest folders in your home folder, sorted:
du -sh ~/* 2>/dev/null | sort -h | tail -15For the APFS layout, including each volume’s share:
diskutil apfs listWhy the numbers don’t match
- Purgeable space. Finder and Storage settings count it as free,
dfdoesn’t. See Purgeable space vs System Data. - Decimal against binary. macOS counts a gigabyte as one billion bytes. Some tools use 1,073,741,824, so the same disk looks about 7 percent smaller.
- Local snapshots. Time Machine keeps snapshots on the disk until it needs the room. They sit in System Data, and the Storage bar may lag behind a deletion.
- The calculation is slow. Right after a big change, Storage settings can show old numbers for a few minutes.
If a category looks too big, System Data, macOS and Other Volumes in Storage settings explains what each one holds.
How Levo does it
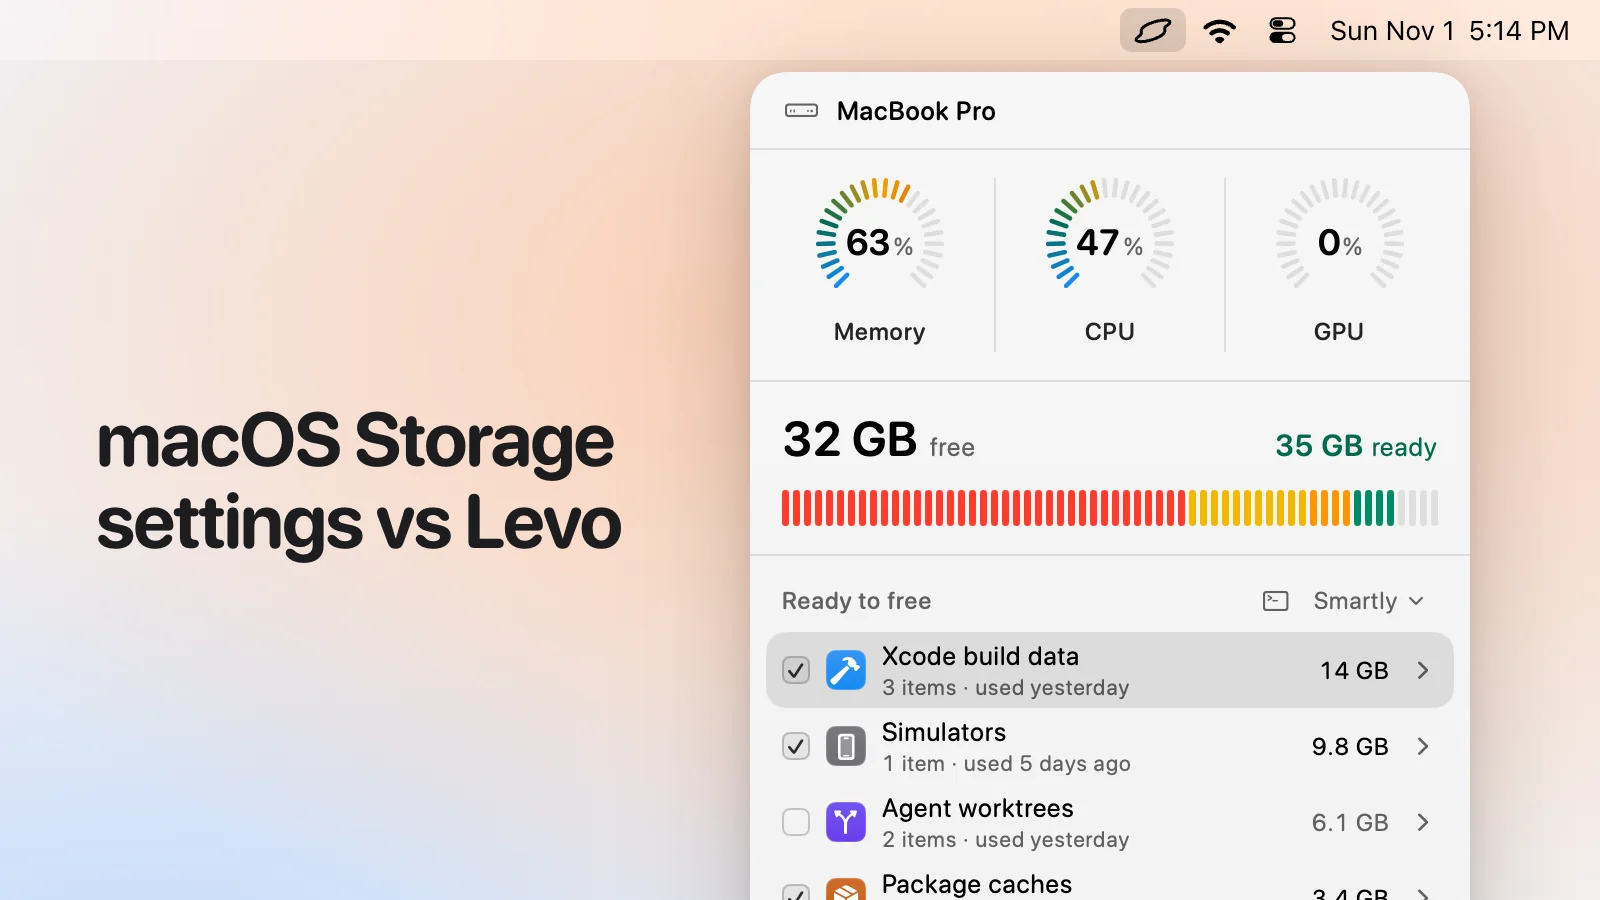
Levo sits in the menubar and shows the disk as a meter in its popover, so you check storage with one click and nothing to open. It keeps a live index of your home folder, hidden folders and Library included, so it doesn’t rescan each time you look.
Under the meter, Ready to free lists what is taking space and can go, grouped by kind, each with a size and a reason. Levo splits Caches, Developer, Mail and Messages out of System Data, so what is left under that label is smaller than in Storage settings. The free-space figure counts purgeable space the way Finder does, which is explained in Free space looks different in Finder.
You can also set a limit, and Levo notifies you when free space drops below it, with the answer ready.
FAQ
Why does Finder show more free space than Terminal?
Finder counts purgeable space as available, because macOS deletes it automatically when something needs room. The df command counts only blocks that are free right now, so its number is lower.
How do I check storage on a Mac from Terminal?
Run df -h /System/Volumes/Data for the disk, and du -sh on a folder for its size. Both are built in, and neither changes anything.
Why does Storage settings take so long to load?
macOS calculates each category separately, and System Data last. On a large disk this can take a few minutes, and the numbers can be stale right after you delete files.
How much free space should I keep?
Keep enough that updates and the swap file can grow, a tenth of the disk or at least 20 GB is a sensible floor. Below that, apps start to slow down and macOS updates can fail.